
Filming an Experiment
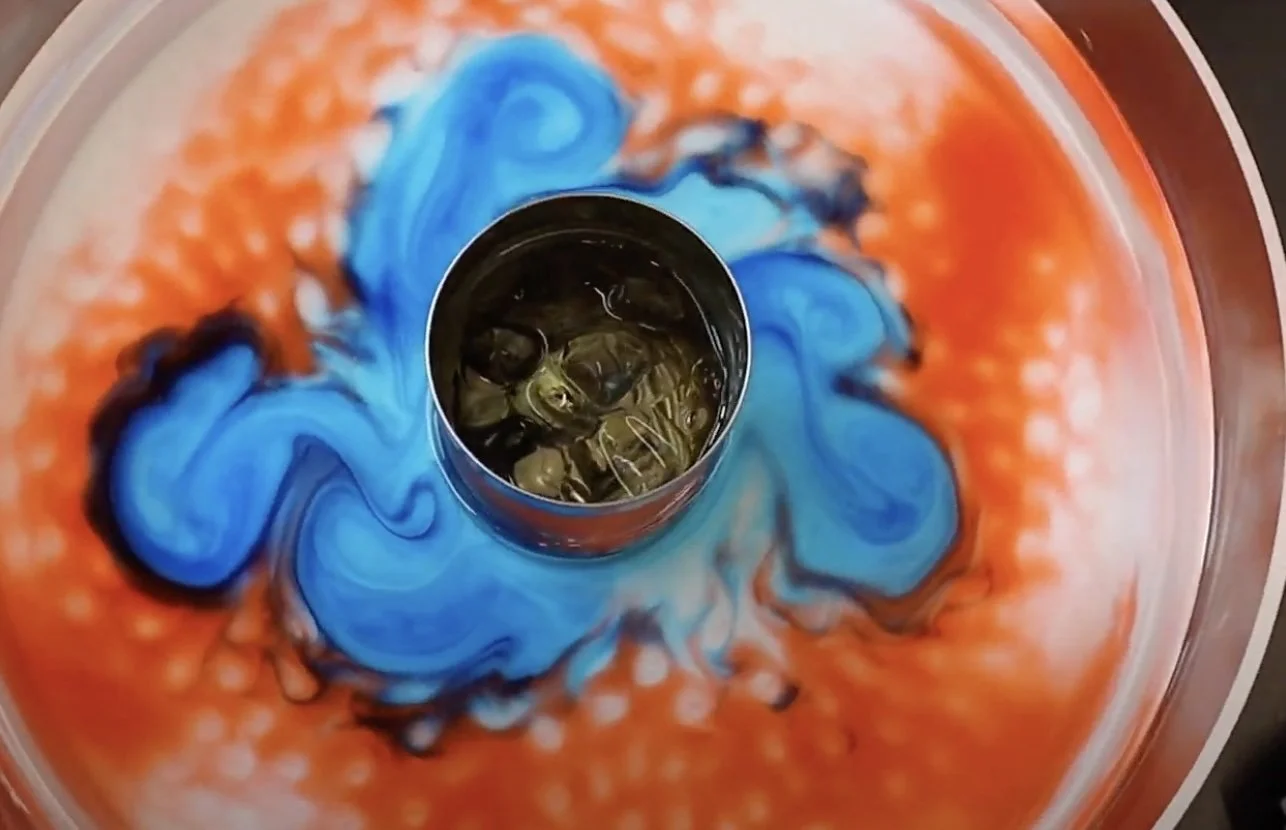
The DIYnamics Kits facilitate demonstrations that help provide an intuition into the forces behind our weather, ocean currents, magnetic field and more! A key aspect of effective learning is observing the links between structures in the model and in the real world. Filming experiments is a helpful step in teaching with the DIYnamics Kits. Movies can capture the fluid dynamics of a system for later analysis. Points to consider include:
Choosing Equipment
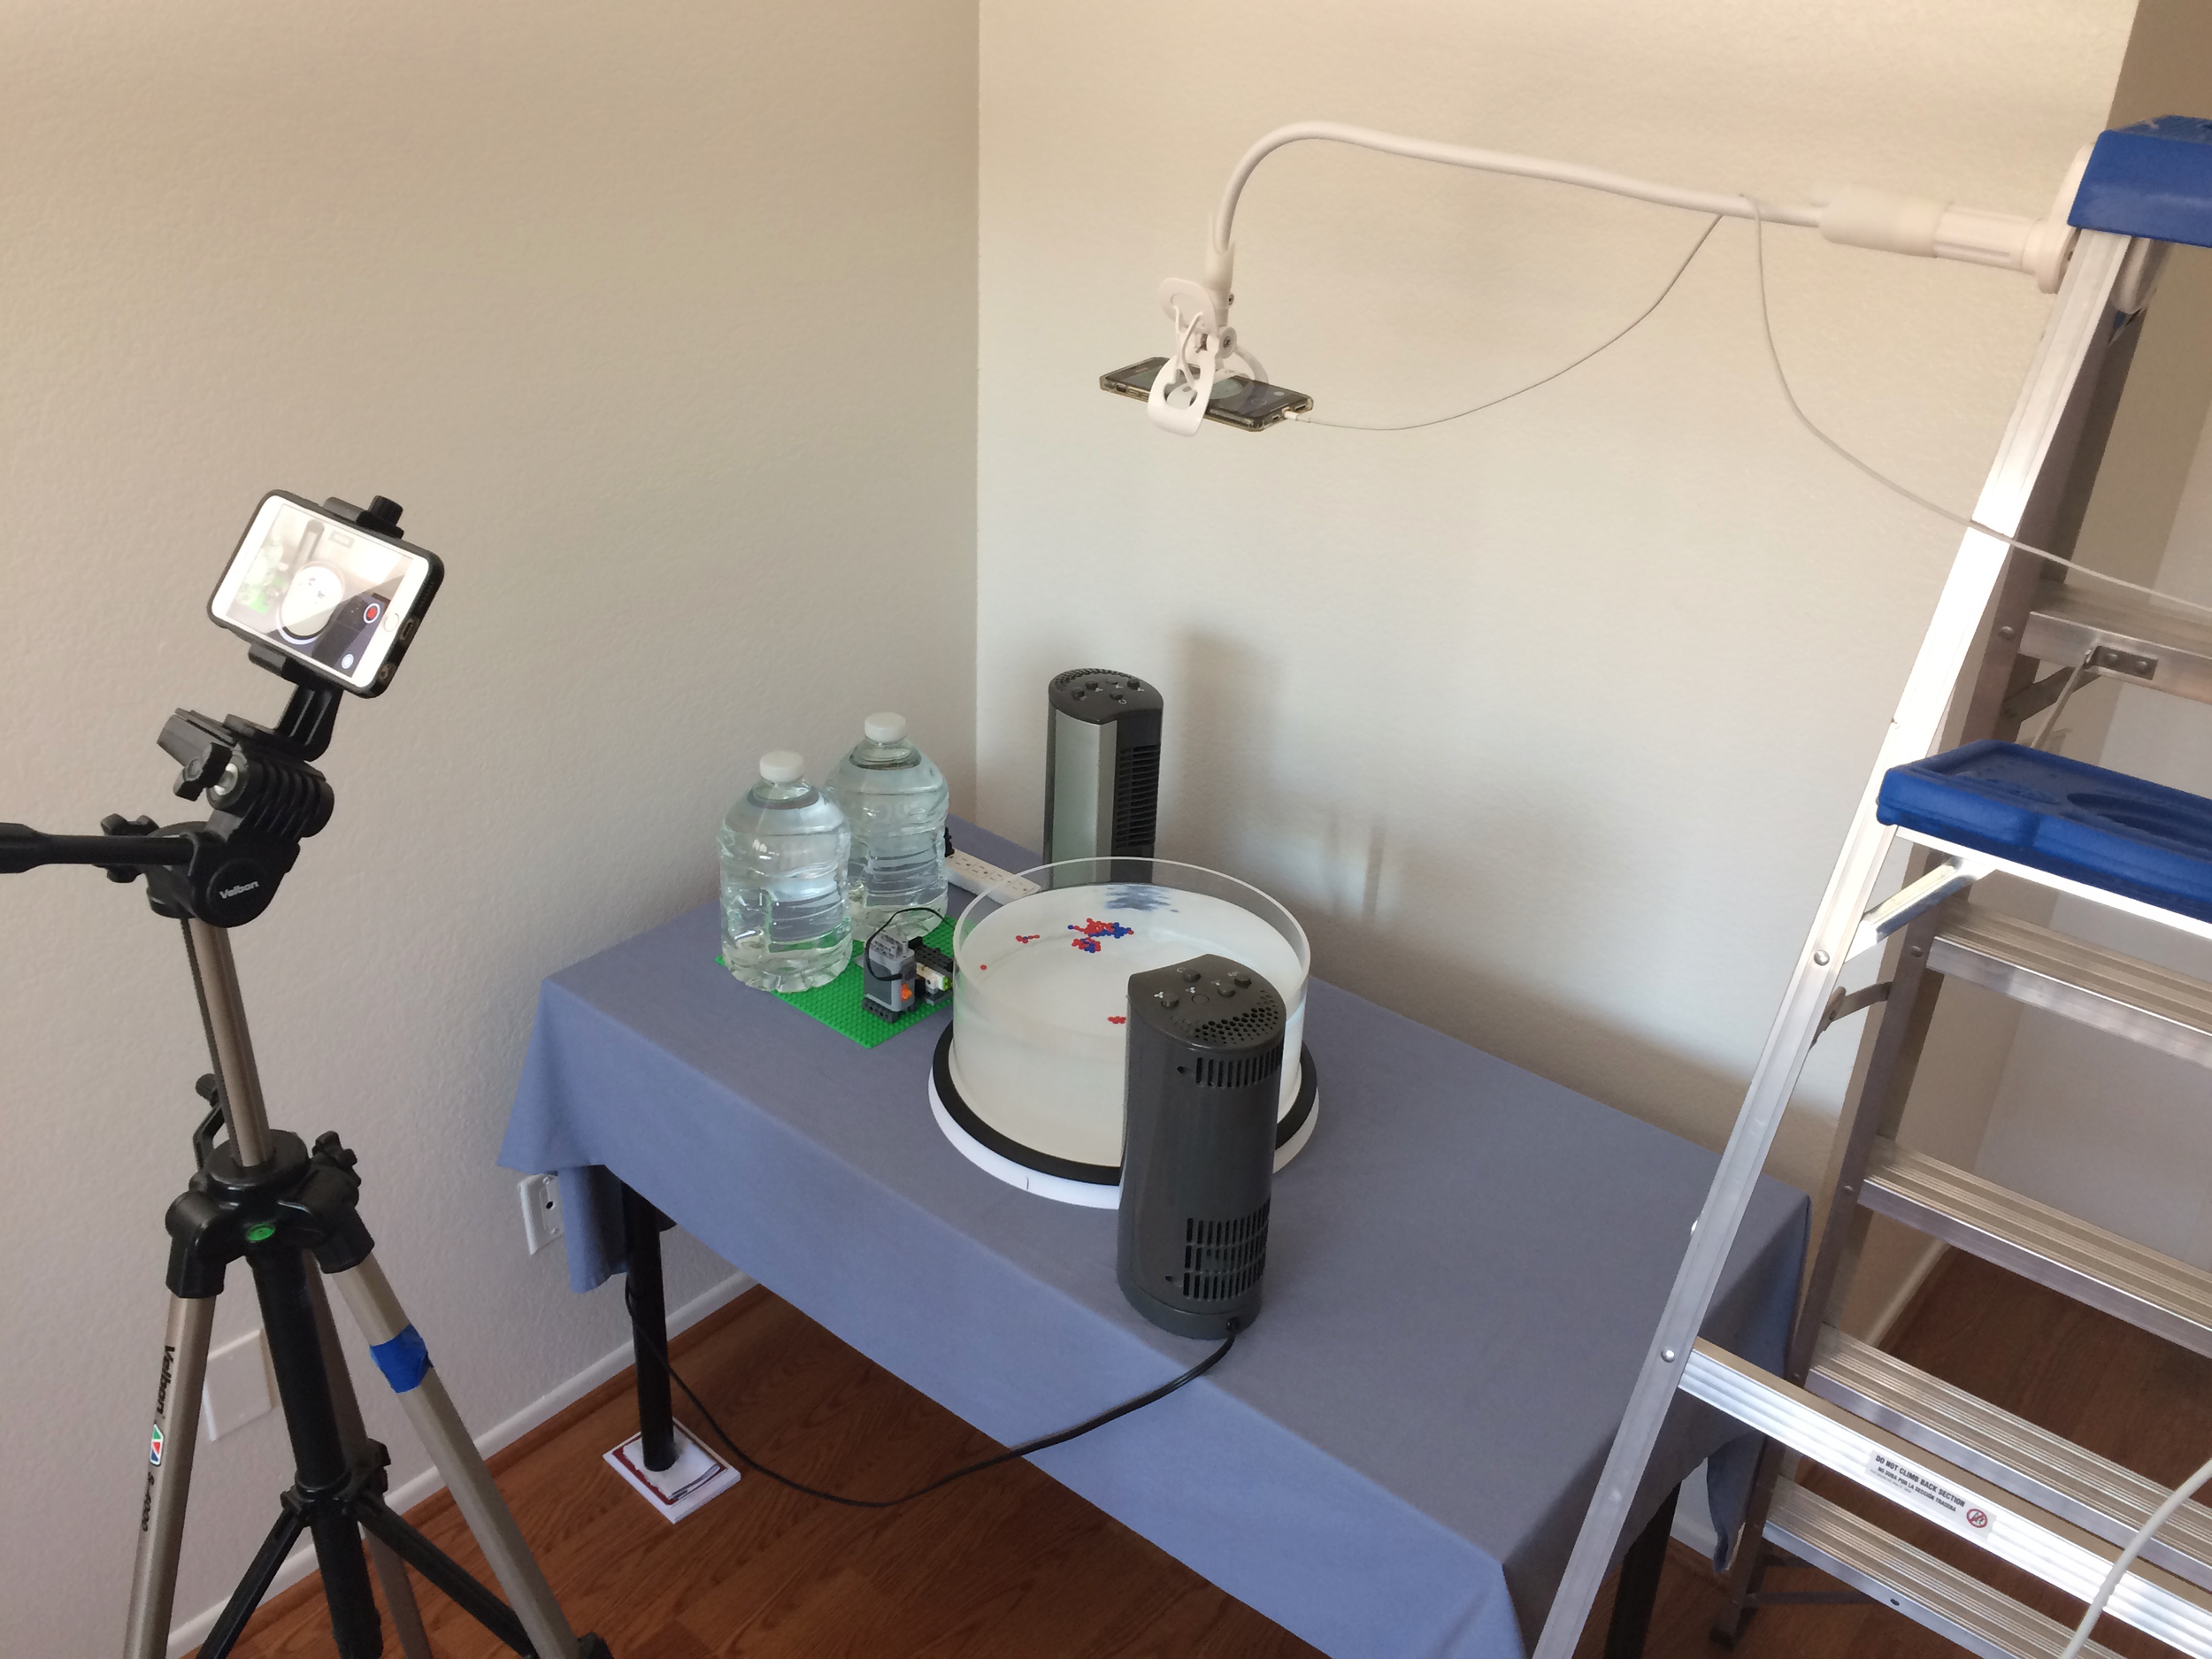
Smartphones are convenient and effective for capturing footage of experiments! Your filming setup will depend on your objectives but more often than not, required equipment can either be found in your household or purchased affordably. The gooseneck camera clamp (pictured supporting the smartphone above the tank) is very useful — its flexibility enables framing the right shot whilst staying out of way of experiments.
All you need to start filming is your smartphone! Action cameras like GoPros pack significant capabilities in a small package whilst enthusiast cameras like DSLRs offer high quality. Nevertheless, the core functionality needed can be obtained with the device in your pocket. Choose the option best for you! The filming setup can most often be put together from household items or with affordable consumer grade gear. We recommend the gooseneck camera clamp for supporting your smartphone. Its long flexible arm enables tuning the smartphone’s position until the shot is framed just right. Meanwhile, its thin yet sturdy frame make it compact enough to stay out of the way of experiments. Note that each DIYnamics Kits features an option for mounting a camera in the system. Other equipment to consider includes lighting. The choice depends on the filming environment and experimental requirements but the general goal is to illuminate the scene whilst avoiding common pitfalls described below. The choice of equipment is overall flexible — adapt to your demonstration with materials at hand.
Recommended Parts - Gooseneck Camera Clamp