
Creating a Cold Source
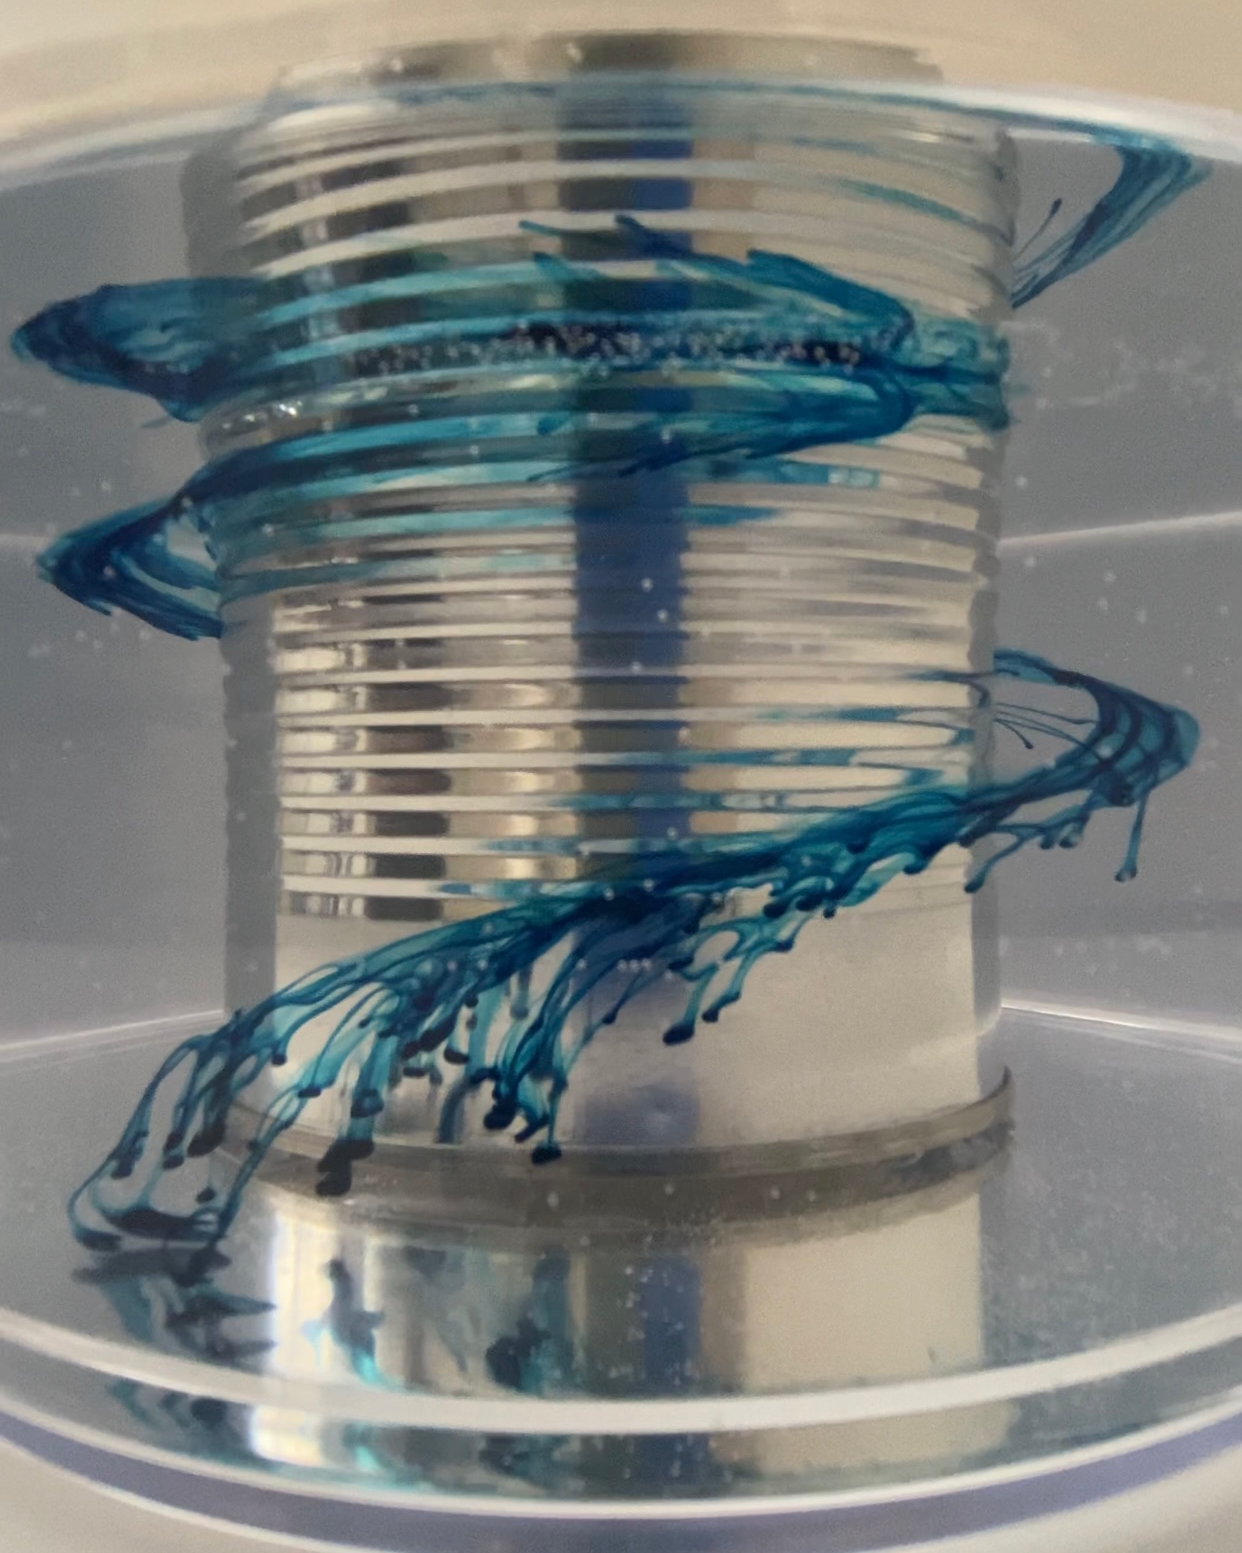
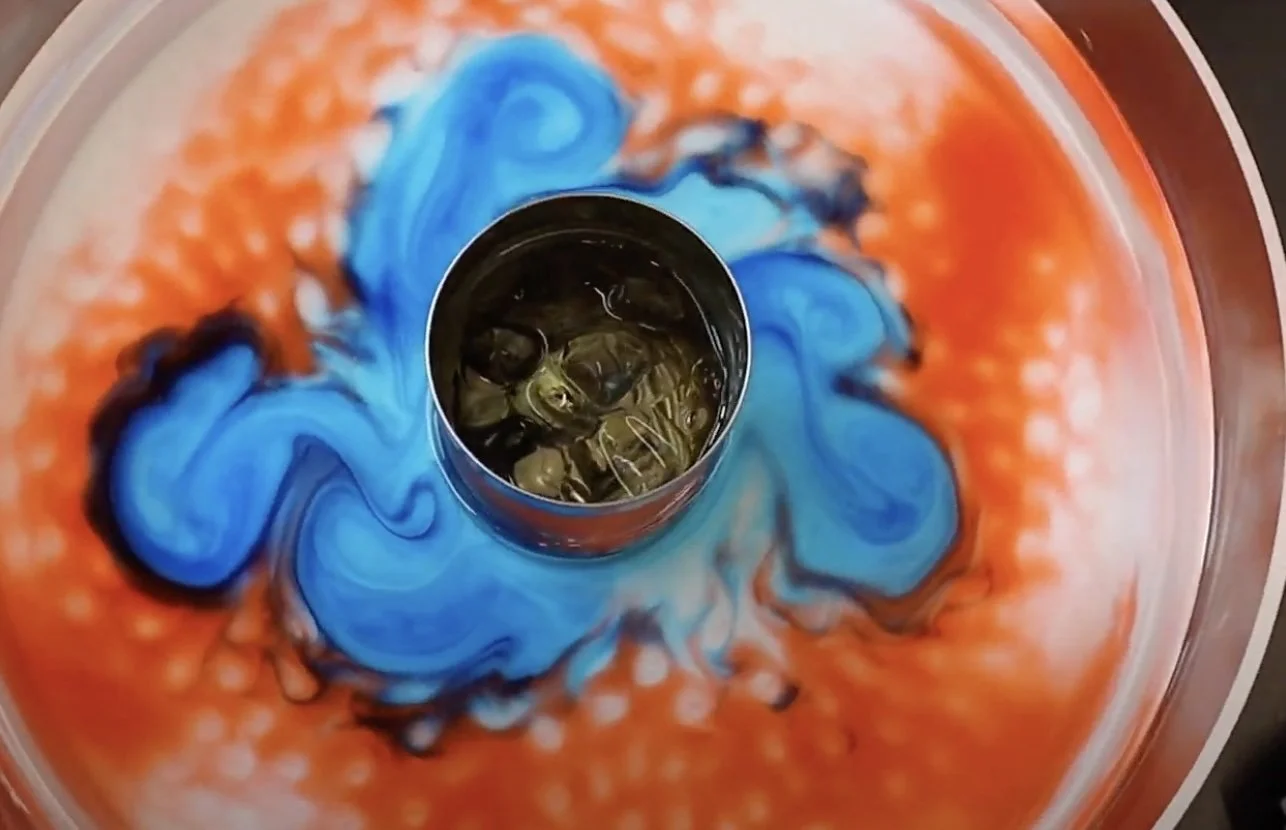
Thermal wind experiment with cold source. The system’s temperature gradient and rotation couple to result in shearing.
Cold sources are central components of many experiments. Placing a cool mass within a warm fluid layer establishes a temperature gradient in the model analogous to the real world. Capturing the fluid dynamics of cold polar regions versus hot equatorial regions or other like environments is fascinating because their interaction is responsible for weather impacting our daily lives and more!
A convenient approach for creating a cold source consists of freezing a can. However, a challenge of this approach is that the can must continue to remain cool throughout the entirety of the model’s operation — from spin up to the experiment. When placed in hot water, the cold can will begin equilibriating during spin up thus leaving a subdued temperature gradient for the experiment.
To this end, an alternative approach consists of fixing a container in the tank then adding ice at the start of the experiment. This ensures that heat transfer between the cool mass and warm fluid layer will begin only once the system is spun up. Here are steps for creating the cold source:
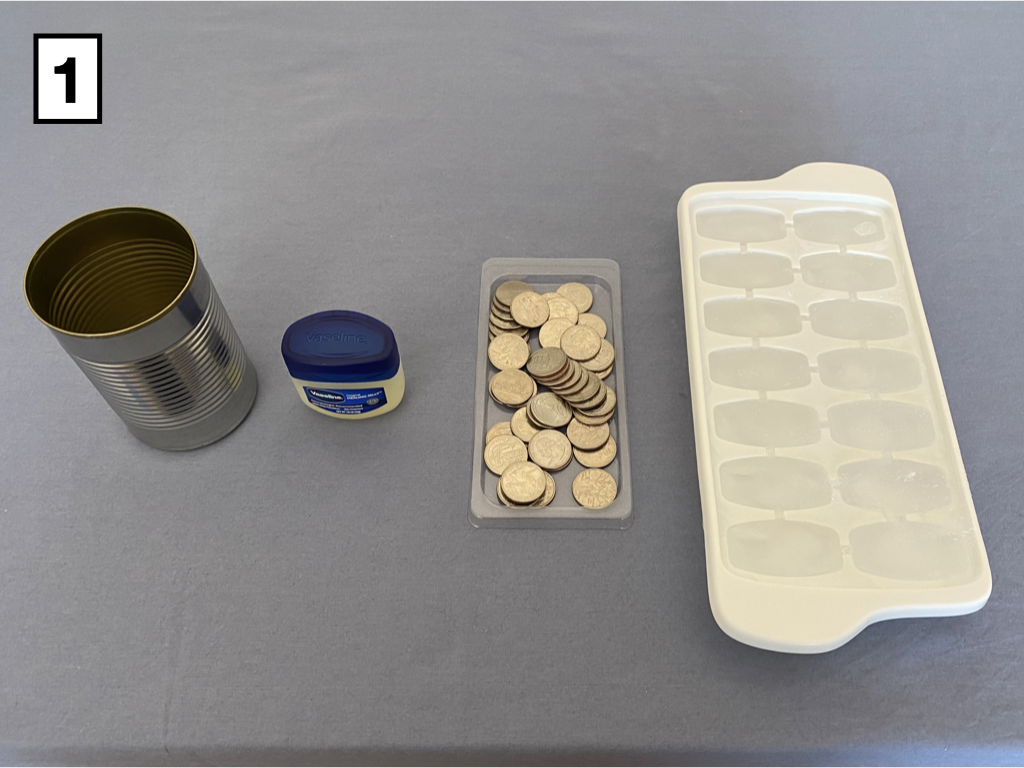
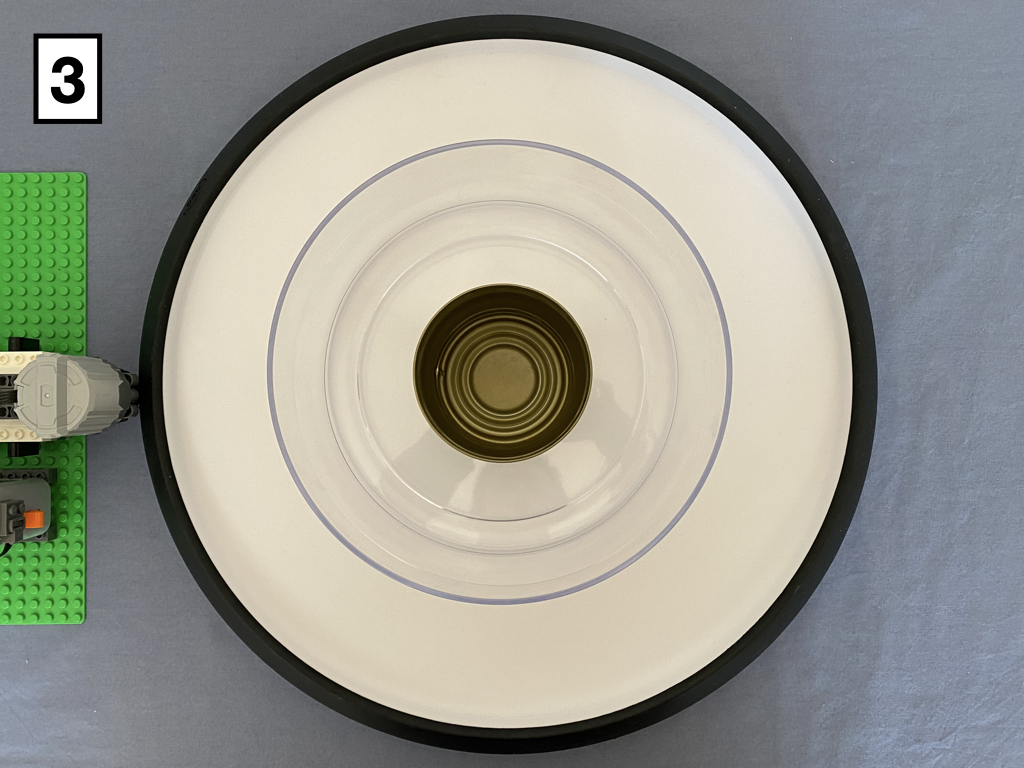

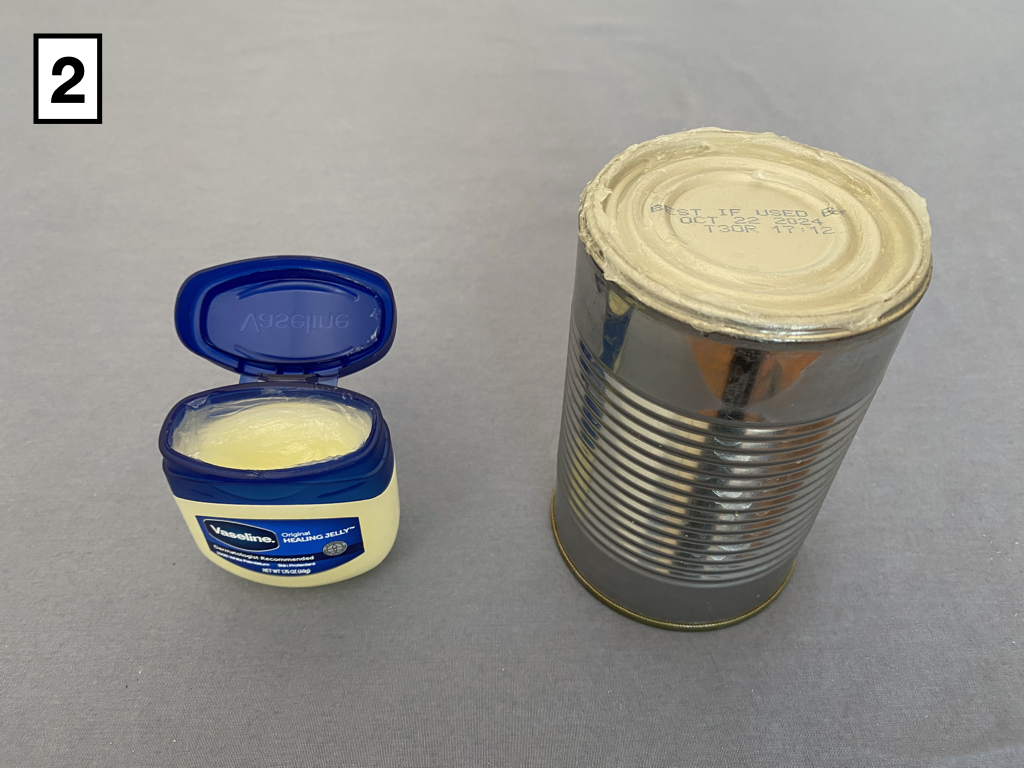
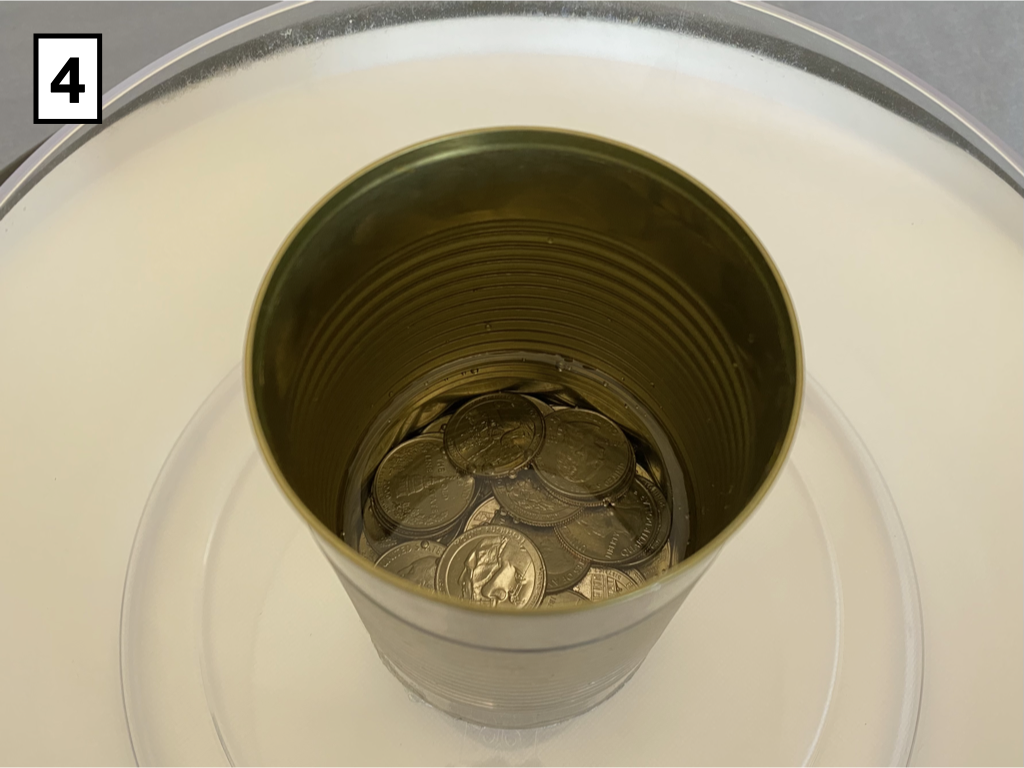
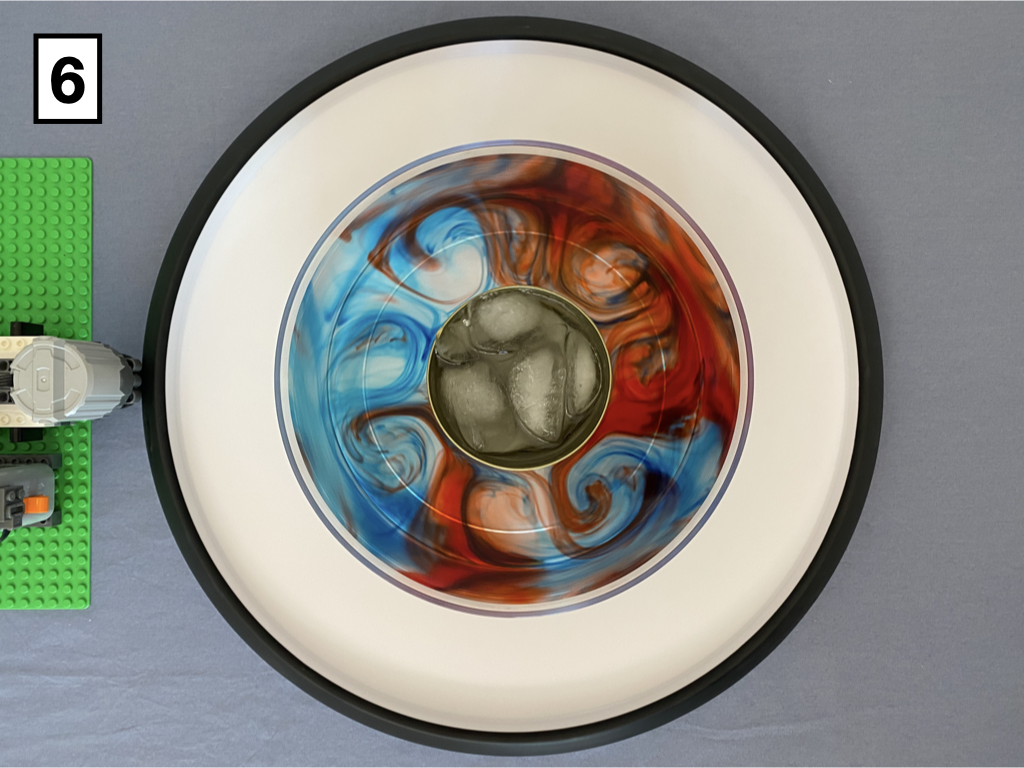
Step 1: Gather materials — empty can with lid removed, vaseline, weights (e.g. coins) and ice. Step 2: Apply vaseline to the bottom of the can. The vaseline will create a temporary seal between the can and the tank. Step 3: Push vaseline end down to fix the can to the center of the tank. Step 4: Add the weights to the can and fill the can approximately one third full with water. The weights serve to prevent the can from floating once water is added to the tank. The water serves to help the ice added later couple with its surroundings for transfer of heat. Step 5: Add water to the tank and begin spin up. Once the system is in a state of solid body rotation, fill the can with ice. Step 6: Proceed with your experiment!
Recommended Parts - Vaseline - Ice Cube Tray